Zebra MP7000 Scanner Scale Setup
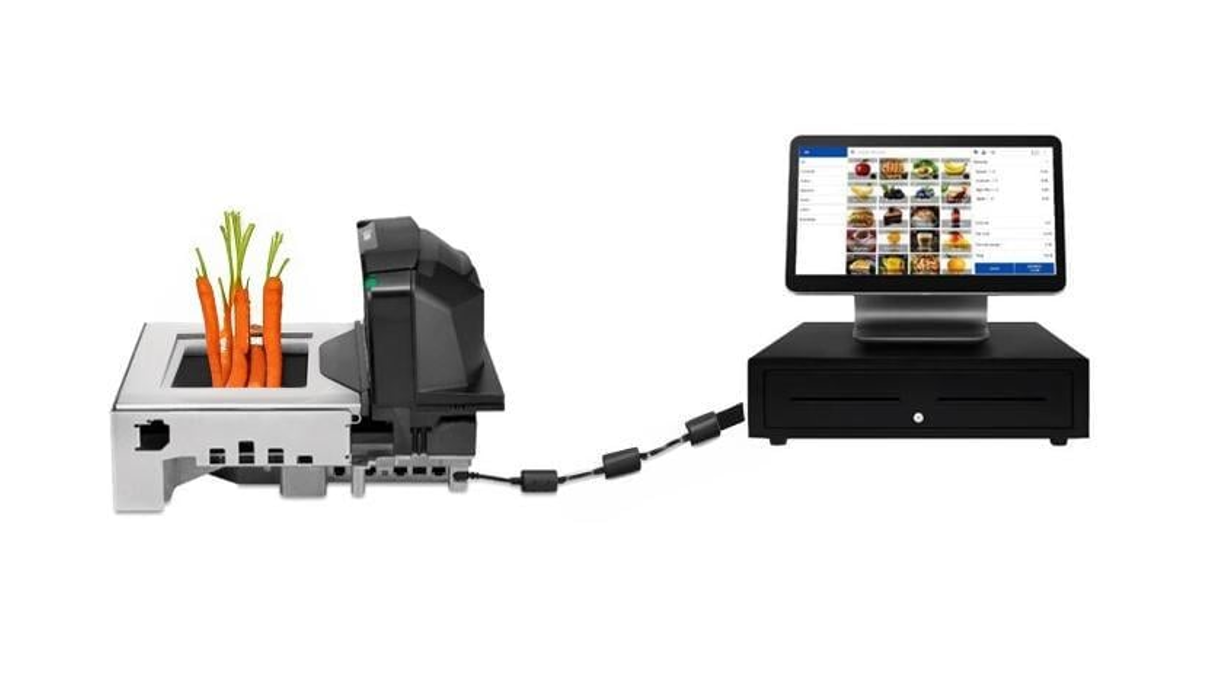
Easy POS supports integration with the Zebra MP7000 Scanner Scale, allowing businesses to scan barcodes and capture item weight directly at checkout. Once configured, the device communicates instantly with the POS, enabling faster billing, improved accuracy, and a smoother cashier workflow.
This guide explains how to set up the integration through the Back Office, configure the POS App, and connect the hardware correctly.
Back Office Configuration
First, enable the weight scale functionality for a measurement type.
Steps:
- Log in to the Easy POS Back Office.
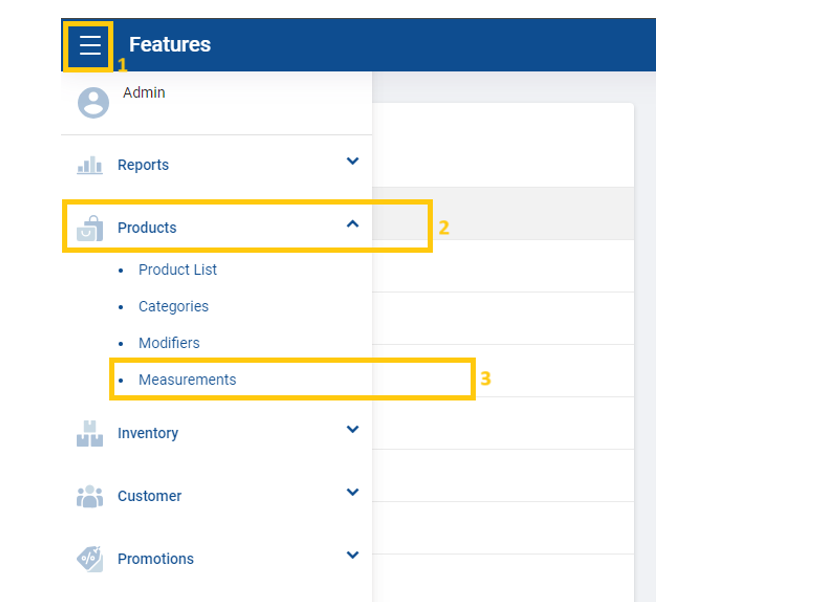
- Go to Products.
- Open Measurement.
- Select an existing measurement (e.g., grams) or create a new one.
- Enable Weight Scale Status.
- Save changes.
Important:
- If your measurement is not available, create one using Add Measurement.
- Only one measurement can be enabled for the weight scale at a time.
Create / Edit Products & Assign Measurement
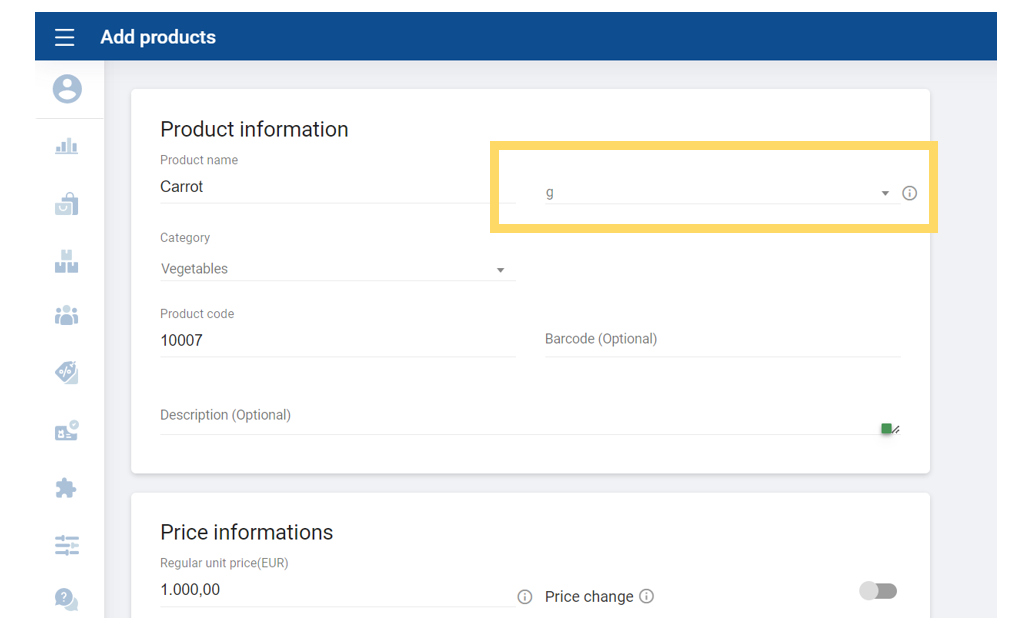
Each product that will be weighed must be linked to the enabled measurement.
Steps:
- Log in to the Back Office portal.
- Go to Products → Product List.
- Create a new product or edit an existing one.
- Under Sold by Each, choose the measurement you enabled for the weight scale.
- Add the product barcode (required for scanning).
- Save / Update.
POS App Configuration
Next, activate the Zebra device inside the Easy POS App.
Steps:
- Open the Easy POS App.
- Tap the menu (burger icon).
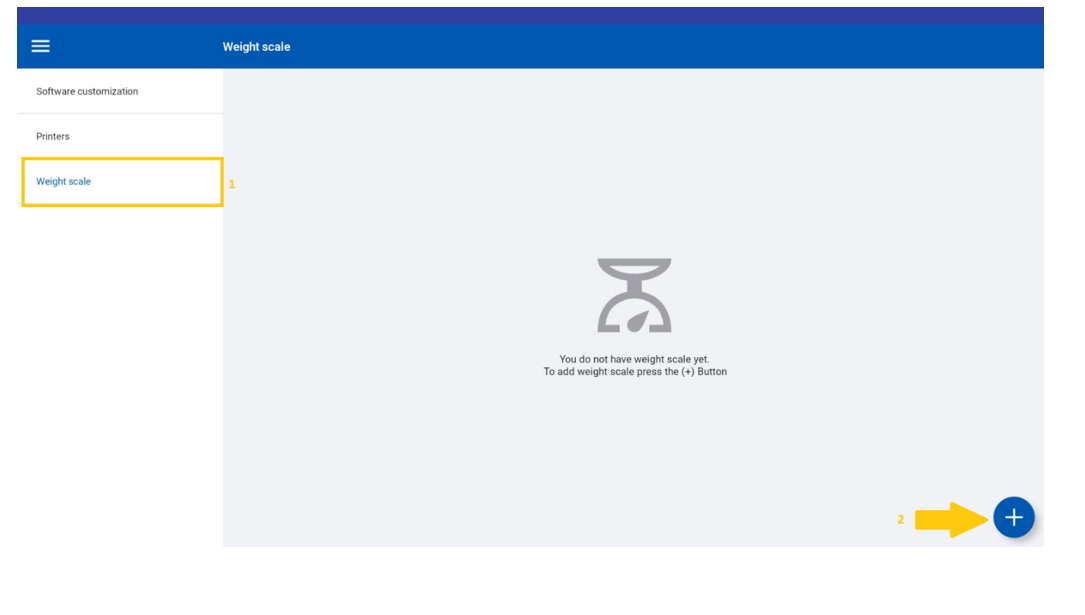
- Go to Settings → Weight Scale.
- Tap Add New.
- Select Zebra – MP7000.
- Enable: - Barcode Scanner - Weight Scale
- Save.
Connect the Zebra MP7000 to the POS Device
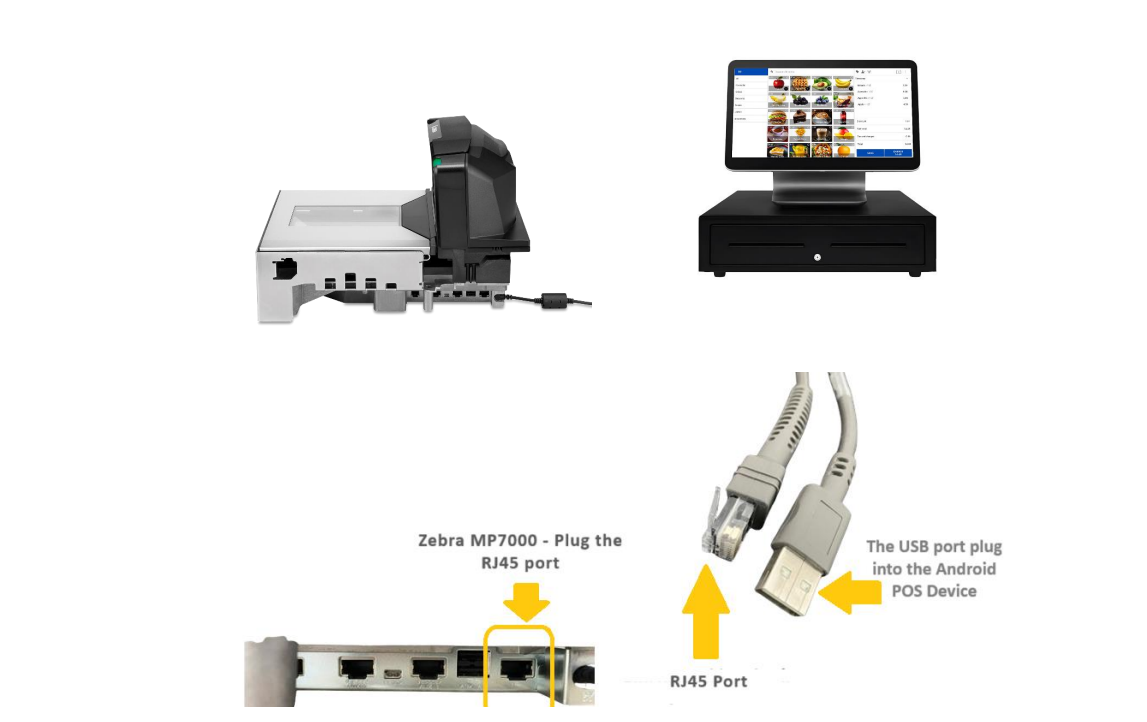
Now physically connect the hardware.
You need: CBA-U01-S07ZAR cable.
Steps:
- Power ON both the Zebra MP7000 and the Android POS device.
- Plug the RJ45 connector into the Zebra.
- Plug the USB connector into the POS device.
- When permission appears on the POS screen, tap OK.
Once these steps are complete, the scale will automatically send barcode and weight data to the POS during billing.
Was this article helpful? Tell our team what was missing.
Send us feedback