Standard Table Layout Setup Process
1. How to Enable Table Layouts
This feature enables businesses to handle and organize reservations for various resources, such as rooms, tables, and seats. It helps manage their availability and scheduling, facilitating allocation for sales processes.
- Login to POS Back Office Web portal.
- Select 'Settings' from main menu.
- Go to the 'Feature'.
- Tick on the 'Reservations' button.
- Click 'Save'
How to Setup Standard Table Layout
- Select 'Table/ Room'
- Click 'Add Table/Room'
- Click "Select Option" and select "Standard Layout."
- Enter Table / Room Name
- Select a Type
- Click 'Save.'
Related Help Articles
The image below illustrates the standard table layout within the POS app.
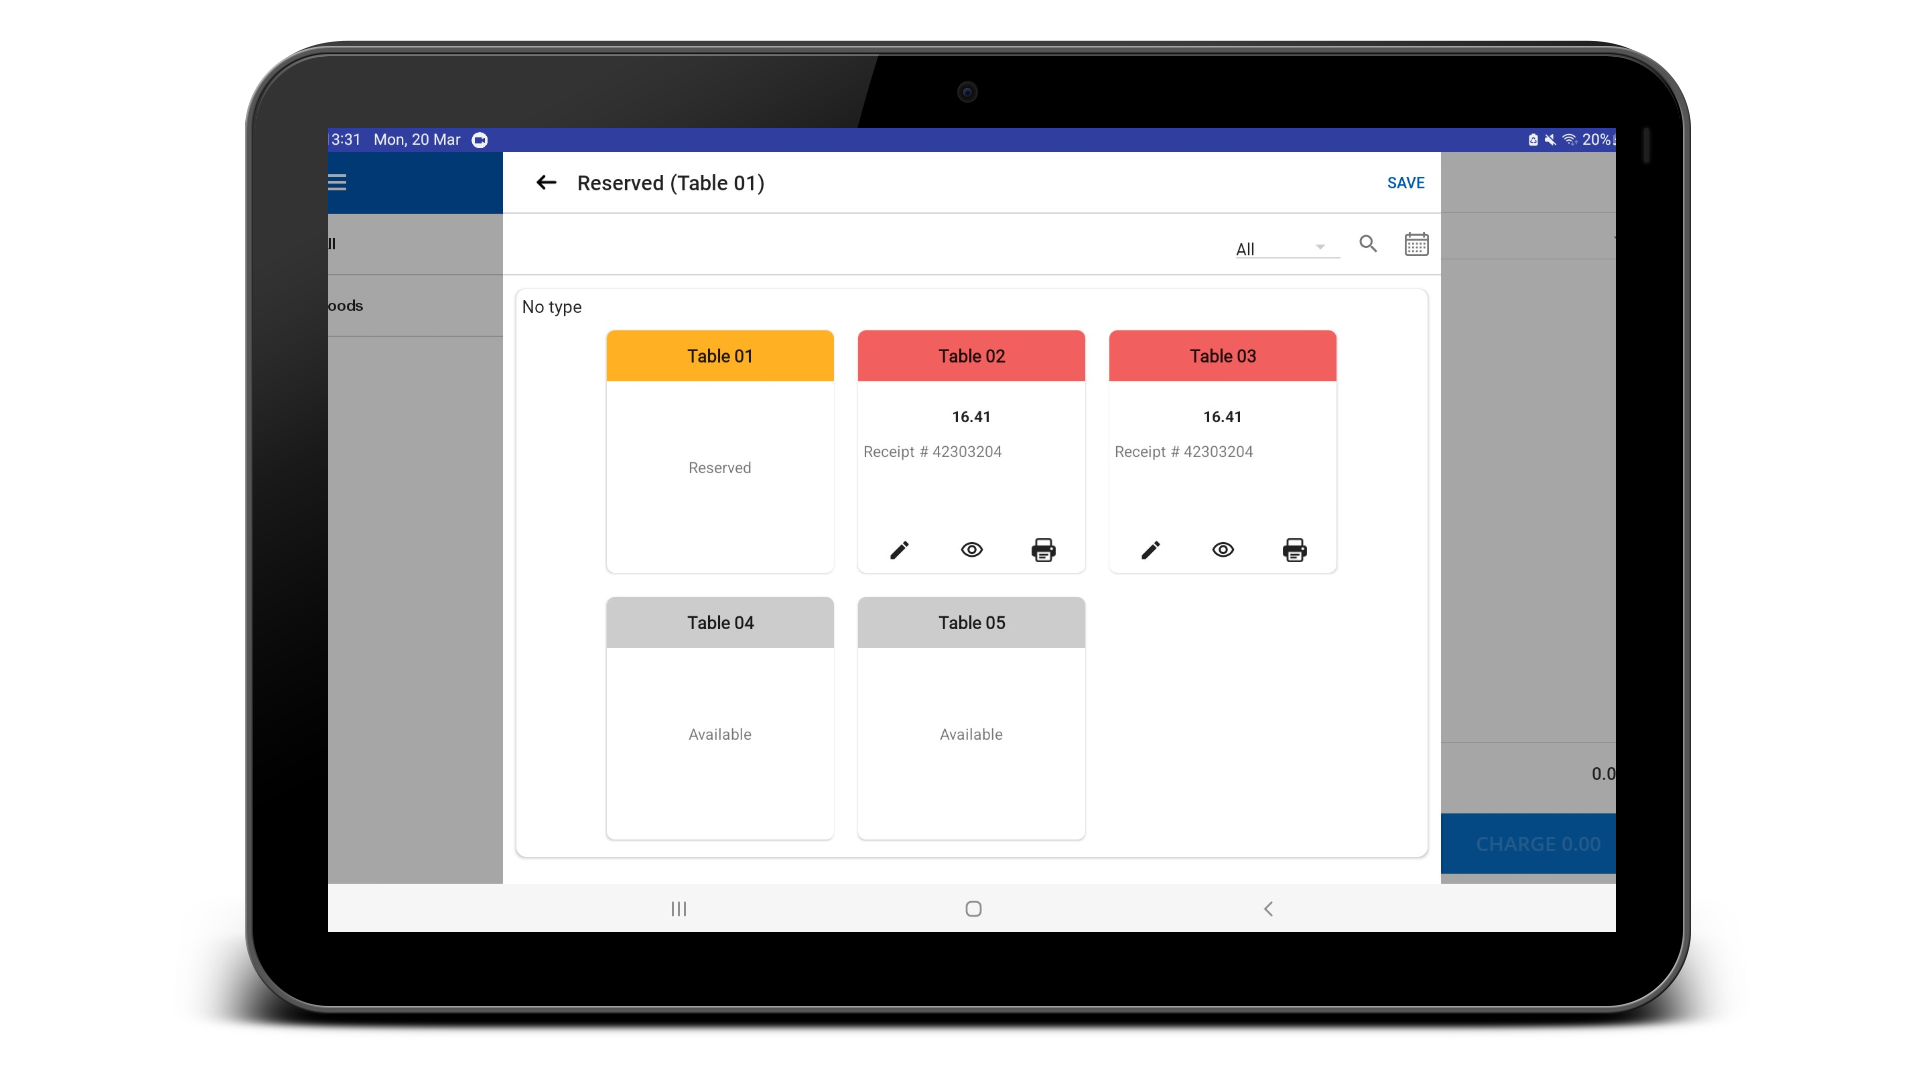
The status of the tables is shown with different colors:
White – available Red- Occupied Yellow – Reserved
Was this article helpful? Tell our team what was missing.
Send us feedback